
Revitalize Your Garage: A Simple Guide to Garage Door Panel Replacement
- Commercial Garage Door Repair
- Garage Door Opener Installation
- Garage Door Spring Repair
- Same Day Garage Door Repair
- Custom Garage Doors
- Garage Door Opener Repair
- Garage Door Track Repair
- Gate Repair
- Garage Door Cable Repair
- Garage Door Panel Repair
- Local Garage Door Repair
- Garage Door Replacement
- Noisy Garage Door Fix
- Garage Door Installation
- Garage Door Section Replacement
- Overhead Garage Door Repair
Revitalize Your Garage: A Simple Guide to Garage Door Panel Replacement
Replacing or repairing garage door panels can breathe new life into your garage and improve your home’s curb appeal without breaking the bank. Whether your panels are damaged, outdated, or you’re just looking for a fresh look, learning how to replace or repair your garage door panel is easier than you might think. This garage door panel repair guide is here to walk you through the essentials, step by step, so you can tackle this task with confidence.
Why Replace Your Garage Door Panel?
Your garage door is not just a functional part of your home—it’s also one of the first things people see. Over time, panels can get cracked, dented, or simply worn out. Here’s why replacing your garage door panels is worth considering:
- Improved Appearance: A fresh panel can transform the look of your garage instantly.
- Cost-Effective Solution: Replacing panels is more budget-friendly than replacing the entire door.
- Better Functionality: Damaged panels can affect how well your garage door operates.
Replacing panels can seem intimidating, but with the right tools and preparation, you can DIY this home upgrade or coordinate with a professional with ease.
Steps to Replace Your Garage Door Panel
Remove the Damaged Panel
First things first, you need to remove the damaged panel. Start by disconnecting the garage door opener to avoid accidents. Next:
- Unbolt the panel’s fasteners on the inside of the garage door.
- Carefully slide out the damaged panel to prevent further damage to the door or track.
Pro Tip: If you have a multi-panel garage door, you may need to remove multiple panels to reach the damaged one.
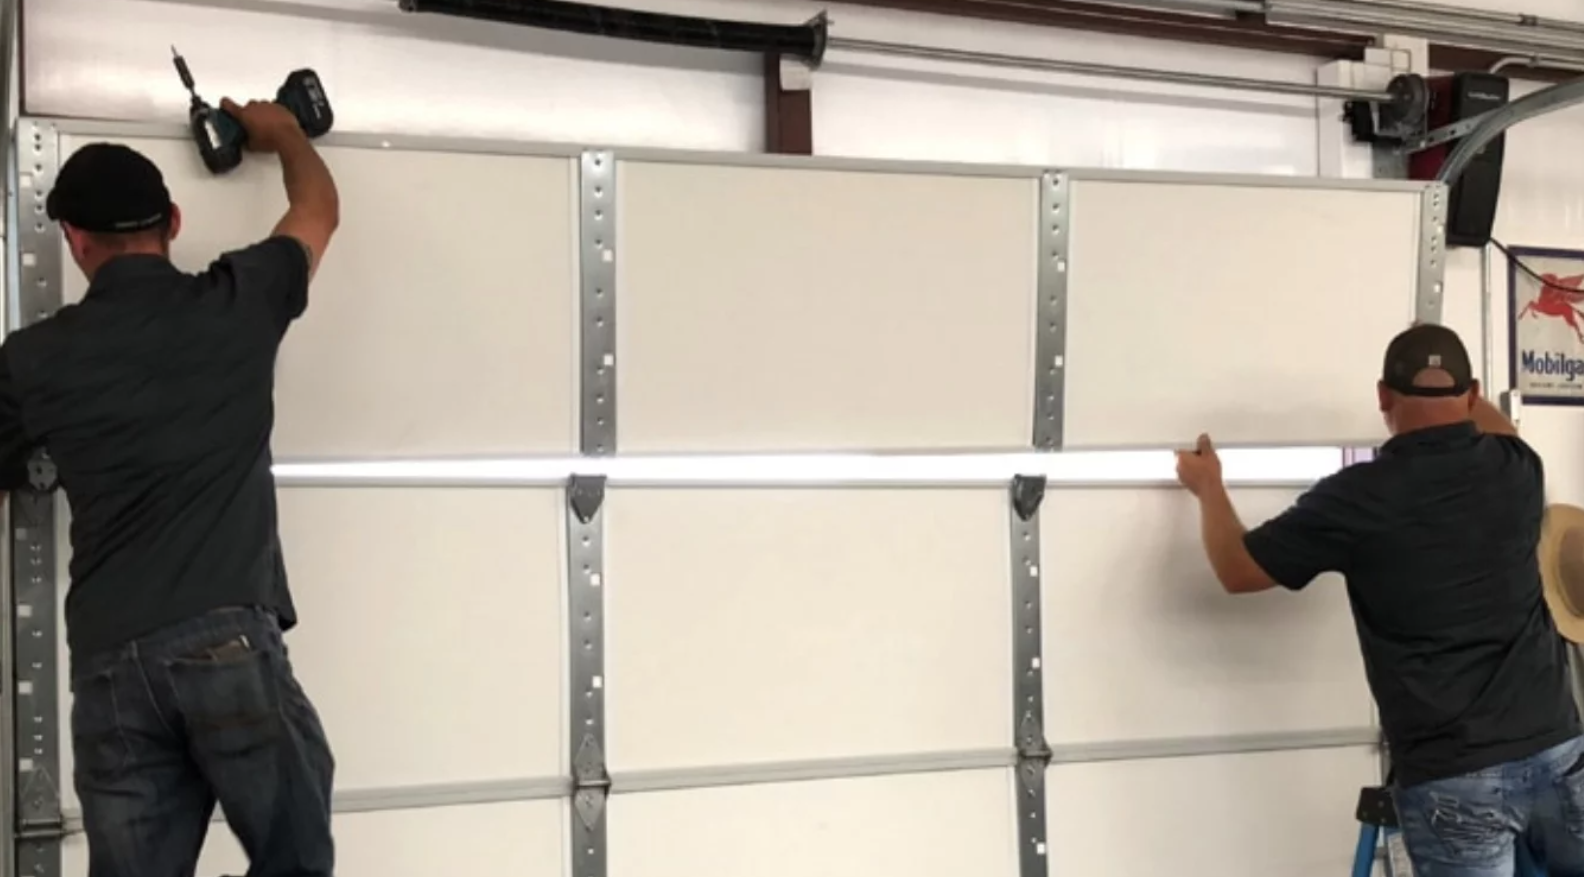
Install the New Panel
Once the damaged panel is out, replace it with your new panel. Be sure to:
- Align the new panel properly with the existing panels.
- Secure it with the appropriate screws or fasteners.
Some panels come with pre-drilled holes for easy installation. If yours doesn’t, you’ll need to drill them yourself. Make sure everything is level before moving to the next step.
Reconnect the Hardware
Finally, reconnect the hardware, including the garage door springs and opener system. Test the door to ensure it moves smoothly and all panels align properly.
If anything feels off, double-check your installation before using the door regularly.
Tips for a Stress-Free Installation
- Choose the Right Panel: Not all garage door panels are alike. Make sure to buy a replacement that matches your door’s material, size, and color.
- Safety First: Always use protective gear and handle torsion springs with care. If you’re unsure, don’t hesitate to call a professional.
- Shop Smart: Check for sales or promotions to save on replacement panels.
Leave It to Local Garage Door Repair Miami Gardens
If the idea of replacing your garage door panel yourself sounds a bit daunting, Local Garage Door Repair Miami Gardens has got you covered. With expert service and guaranteed satisfaction, their team can ensure your installation is flawless, saving you time and stress.
Updating your garage doesn’t have to be hard—start with the panels, and the results will speak for themselves. Get in touch with the friendly professionals at Local Garage Door Repair Miami Gardens to make your garage better today!